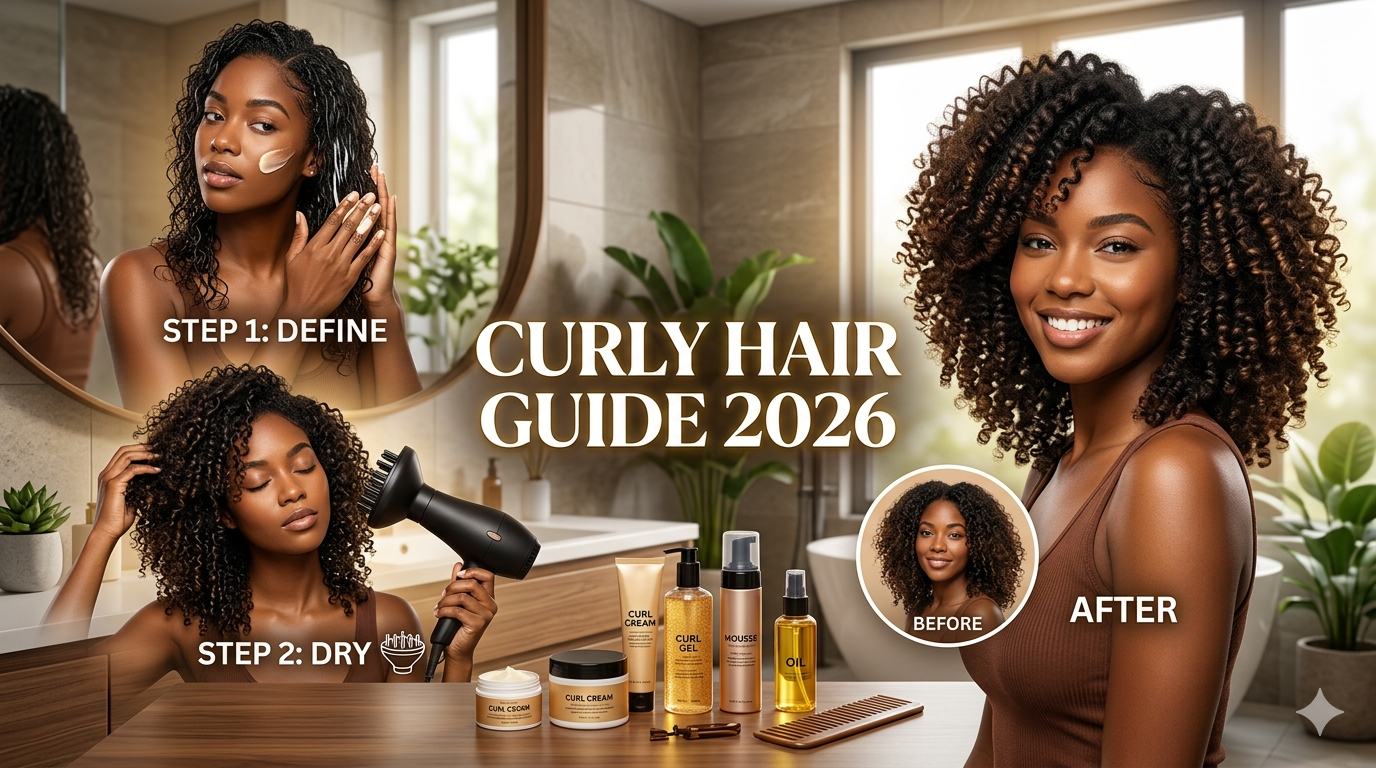
The Complete Guide to Curly Hair Care in 2026
Curly hair is beautiful, unique, and full of personality—but it also requires specific care to thrive. If you've struggled with frizz, dryness, undefined curls, or damage, you're not alone. The good news? With the right products, techniques, and knowledge, you can transform your curls from frustrating to fabulous. This comprehensive 2026 guide covers everything you need to know about curly hair care, from understanding your curl pattern to avoiding common mistakes that sabotage your results.
Curly hair isn't just a texture—it's a different structure that requires different care than straight hair. The natural oils from your scalp have a harder time traveling down the spiral shape of curly strands, which is why curls tend to be drier and more prone to breakage. Understanding this fundamental difference is the first step toward healthy, defined, beautiful curls.
Understanding Your Curl Pattern and Hair Type
The Curl Classification System
Not all curls are created equal. The Andre Walker Hair Typing System categorizes curls into four main types, each with subcategories:
Type 2: Wavy Hair
- 2A: Loose, gentle waves with slight texture
- 2B: More defined waves starting at mid-length
- 2C: Defined waves starting at roots, some frizz
Type 3: Curly Hair
- 3A: Loose, large curls with definite S-shape
- 3B: Springy, bouncy curls about the size of a marker
- 3C: Tight, corkscrew curls with lots of volume
Type 4: Coily/Kinky Hair
- 4A: Tightly coiled S-pattern, very fragile
- 4B: Z-pattern coils, less defined, more shrinkage
- 4C: Tightest coil pattern, maximum shrinkage, very delicate
Why this matters: Your curl pattern determines which products and techniques will work best. Type 2 hair needs lighter products to avoid weighing down waves, while Type 4 hair needs intense moisture and sealing. Don't compare your curl journey to someone with a different pattern—your needs are unique.
Porosity: The Missing Piece of the Puzzle
Beyond curl pattern, porosity is crucial for product selection. Porosity refers to how well your hair absorbs and retains moisture:
Low porosity: Cuticles are tightly closed. Hair resists moisture, takes forever to dry, and products sit on top. Use lightweight, liquid-based products and apply heat to help absorption.
Medium porosity: Cuticles are slightly open. Hair absorbs moisture well and holds styles nicely. Most products work well—this is the "Goldilocks" porosity.
High porosity: Cuticles are very open or damaged. Hair absorbs moisture quickly but loses it just as fast. Needs heavy creams, butters, and sealants to lock in moisture.
Quick porosity test: Drop a clean strand of hair in a glass of water. If it floats, you have low porosity. If it sinks slowly, medium porosity. If it sinks immediately, high porosity.
Essential Curly Hair Products for 2026
The Curly Girl Method Approved Basics
The Curly Girl Method, popularized by Lorraine Massey, emphasizes avoiding harsh sulfates, silicones, and drying alcohols. While you don't have to follow it strictly, these principles form the foundation of healthy curly hair care.
Sulfate-free shampoo or co-wash: Traditional sulfates (SLS, SLES) strip natural oils, leaving curls dry and frizzy. Switch to gentle, sulfate-free cleansers or co-washes (cleansing conditioners) that clean without stripping.
Silicone-free conditioner: Silicones create buildup that blocks moisture. If you use silicones, you need sulfates to remove them—creating a damaging cycle. Choose water-soluble or silicone-free conditioners with ingredients like behentrimonium methosulfate.
Leave-in conditioner: This is non-negotiable for curly hair. Applied to damp hair, it provides ongoing moisture, detangling, and protection throughout the day.
Curl cream or moisturizer: These provide definition, reduce frizz, and add moisture. Choose based on your hair's needs—lighter lotions for fine hair, richer creams for thick or dry hair.
Gel or mousse: Yes, gel! A good curl gel creates a cast that locks in moisture, defines curls, and fights frizz. Once dry, you "scrunch out the crunch" for soft, defined curls. Mousse is lighter and great for volume.
2026's Top Product Categories and Ingredients
What to look for:
- Humectants: Glycerin, honey, aloe vera (draw moisture from air into hair)
- Emollients: Natural oils (argan, jojoba, coconut), shea butter (smooth and soften)
- Proteins: Hydrolyzed wheat, silk, or keratin (strengthen and repair—use sparingly)
- Moisturizers: Panthenol, aloe, glycerin (hydrate and plump hair shaft)
Ingredients to avoid:
- Sulfates (sodium lauryl sulfate, sodium laureth sulfate)
- Non-water-soluble silicones (dimethicone, amodimethicone)
- Drying alcohols (ethanol, SD alcohol, propanol)
- Harsh preservatives (parabens if you prefer natural)
- Fragrance (if you have sensitive scalp)
Building Your Product Routine
For Type 2 (Wavy) Hair: Lightweight leave-in, mousse or light gel, avoid heavy creams
For Type 3 (Curly) Hair: Leave-in conditioner, curl cream, medium-hold gel
For Type 4 (Coily) Hair: Rich leave-in, heavy cream or butter, oil sealant, strong-hold gel
Remember: Start with less product and add more if needed. You can always add, but you can't remove without washing.
Proper Washing and Conditioning Techniques
How Often Should You Wash Curly Hair?
This is one of the most common questions, and the answer is: it depends. Unlike straight hair that may need daily washing, curly hair typically needs washing 1-3 times per week.
Factors affecting wash frequency:
- Curl pattern (tighter curls need less frequent washing)
- Scalp oiliness
- Product buildup
- Exercise and sweat
- Climate and humidity
Signs you're washing too much: Dry, brittle hair, excessive frizz, scalp overproducing oil
Signs you're not washing enough: Itchy scalp, heavy buildup, limp curls, odor
The Proper Washing Method
Step 1: Pre-poo (optional but beneficial)
Apply oil (coconut, olive, or argan) to dry hair 30 minutes before washing. This protects hair from drying effects of cleansing and makes detangling easier.
Step 2: Scalp cleansing
Focus shampoo or co-wash on your scalp, not your lengths. Use your fingertips (not nails) to gently massage and lift buildup. Let the suds run through your ends as you rinse—this is enough to clean them without stripping.
Step 3: Conditioning
Apply conditioner generously from mid-length to ends. Use a wide-tooth comb to detangle while conditioner is in. Let it sit for 3-5 minutes. For extra moisture, try the "squish to condish" method: cup water in your hands and squish it into your hair, creating a squishing sound. This helps conditioner penetrate.
Step 4: Rinsing
Rinse with cool or lukewarm water (hot water causes frizz). For extra moisture, do a final rinse with conditioner left in (the "leave-in method").
Deep Conditioning: The Secret Weapon
Deep conditioning 1-2 times weekly is essential for curly hair health. Use a deep conditioner or hair mask with ingredients like shea butter, coconut oil, or hydrolyzed proteins.
How to deep condition:
- Apply to clean, damp hair
- Cover with a shower cap
- Apply heat (warm towel or hooded dryer) for 15-30 minutes
- Rinse thoroughly
Protein vs. moisture: If your hair feels mushy or stretchy, it needs protein. If it feels dry and brittle, it needs moisture. Balance is key—too much protein causes brittleness, too much moisture causes limpness.
Styling Techniques for Defined, Frizz-Free Curls
The LOC and LCO Methods
These layering methods help seal in moisture:
LOC Method (Liquid-Oil-Cream):
- Liquid: Leave-in conditioner or water-based product
- Oil: Light oil to seal (argan, jojoba)
- Cream: Curl cream or butter for definition
LCO Method (Liquid-Cream-Oil):
- Liquid: Leave-in conditioner
- Cream: Curl cream or moisturizer
- Oil: Sealant oil on top
Which to use: LOC works well for low to medium porosity. LCO is better for high porosity hair that needs heavier sealing.
Application Techniques That Make a Difference
Apply to soaking wet hair: For maximum definition and minimum frizz, apply products to soaking wet hair right after washing. Water helps distribute product evenly and enhances curl formation.
The prayer method: Smooth product over sections of hair using flat palms, as if praying. This reduces frizz and distributes product evenly.
Raking: Use fingers to rake product through hair from roots to ends. Good for thick hair that needs thorough distribution.
Shingling: Take small sections, apply product, and twist or coil each section. Time-consuming but creates maximum definition—great for special occasions or Type 4 hair.
Plopping: After applying products, flip hair forward onto a cotton t-shirt or microfiber towel. Wrap and secure for 15-30 minutes. This enhances curl pattern and reduces frizz by allowing curls to set without gravity pulling them down.
Diffusing vs. Air Drying
Air drying: Gentle and requires no tools, but can take hours and may cause frizz in humid climates. To air dry successfully, don't touch your hair while it dries!
Diffusing: Using a diffuser attachment on your dryer speeds drying time, adds volume, and can enhance curl pattern.
How to diffuse properly:
- Use low heat and low/medium speed
- Hover diffuse first (hold diffuser around hair without touching)
- Then pixie diffuse (cup sections in diffuser, hold for 30-60 seconds)
- Stop when 80-90% dry to avoid frizz
The Gel Cast and Scrunching Out
When you apply gel, it forms a hard cast as it dries. This is normal and desirable! The cast protects curls while drying and locks in definition.
How to scrunch out the crunch:
- Wait until hair is 100% dry
- Apply a tiny amount of oil to your hands
- Gently scrunch hair to break the cast
- Don't over-scrunch—just enough to soften
Your curls will be soft, defined, and frizz-free underneath.
Sleep and Maintenance Routines
Protecting Your Curls Overnight
How you sleep dramatically affects how your curls look the next day. Cotton pillowcases absorb moisture and create friction, leading to frizz and breakage.
The pineapple method: Gather hair loosely at the top of your head (like a pineapple) using a satin scrunchie. This preserves curls and prevents flattening.
Satin or silk bonnet/scarf: Wrap hair in a satin bonnet or scarf to reduce friction and moisture loss. This is essential for Type 3 and 4 hair.
Satin pillowcase: If bonnets aren't comfortable, invest in a satin or silk pillowcase. It reduces friction and helps maintain moisture.
Buff or tubular scarf: For shorter hair or Type 2 waves, a buff or tubular scarf works well to protect without squishing curls.
Refresh Routines for Second and Third-Day Hair
You don't need to wash and restyle daily. Refreshing extends your style and saves time.
Quick refresh method:
- Fill a spray bottle with water and a bit of leave-in conditioner
- Mist hair until damp (not soaking)
- Gently scrunch to reactivate curls
- Apply a tiny bit of gel or cream to frizzy areas
- Let air dry or diffuse
For Type 4 hair: Use the "praying hands" method with a moisturizer and oil to smooth and redefine sections.
For Type 2 hair: A dry shampoo at roots and light mist of texturizing spray may be all you need.
Common Curly Hair Mistakes to Avoid
Mistake 1: Brushing Dry Hair
Brushing curly hair when dry separates curls, creates frizz, and causes breakage. Only detangle when hair is wet and saturated with conditioner, using a wide-tooth comb or your fingers.
The fix: Detangle in the shower with conditioner. If you must detangle dry, use your fingers gently and apply a bit of oil first.
Mistake 2: Towel Drying Roughly
Terry cloth towels create friction that roughs up the cuticle, causing frizz and breakage. Rubbing hair with a regular towel is one of the fastest ways to destroy curl definition.
The fix: Use a microfiber towel or old cotton t-shirt to gently squeeze and plop hair. Never rub!
Mistake 3: Using the Wrong Products
Using products designed for straight hair, or products with harsh ingredients, will leave curls dry and frizzy. Heavy products on fine waves weigh them down; light products on coily hair don't provide enough moisture.
The fix: Choose products specifically formulated for curly hair and matched to your curl pattern and porosity.
Mistake 4: Not Using Enough Product
Curly hair needs more product than straight hair. Skimping on product leads to frizz, dryness, and undefined curls.
The fix: Don't be afraid to use generous amounts, especially of conditioner and leave-in. Start with a quarter-sized amount and add more if needed.
Mistake 5: Touching Hair While It Dries
Touching, scrunching, or fussing with hair while it's drying disrupts curl formation and creates frizz.
The fix: Apply products, then leave your hair alone until it's completely dry. This requires patience but makes a huge difference.
Mistake 6: Skipping Regular Trims
Split ends travel up the hair shaft, causing more damage and making curls look frizzy and unhealthy.
The fix: Get a trim every 8-12 weeks, even if you're growing your hair. Ask for a dry cut or a stylist experienced with curly hair.
Mistake 7: Expecting Overnight Results
Transitioning from damaged to healthy curls takes time. You won't see dramatic changes in a week.
The fix: Be patient and consistent. Take progress photos monthly to see changes you might miss day-to-day.
Troubleshooting Common Curly Hair Problems
Problem: Excessive Frizz
Causes: Lack of moisture, humidity, damaged cuticle, wrong products, touching hair while drying
Solutions:
- Deep condition regularly
- Use anti-humectant products in high humidity
- Apply products to soaking wet hair
- Use a strong-hold gel
- Sleep on satin
- Don't touch hair while drying
Problem: Dry, Brittle Curls
Causes: Not enough moisture, protein overload, harsh products, heat damage
Solutions:
- Increase deep conditioning with moisturizing masks
- Use the LOC/LCO method
- Avoid protein-heavy products temporarily
- Seal with oils
- Reduce washing frequency
- Protect hair at night
Problem: Limp, Lifeless Curls
Causes: Product buildup, too much moisture, heavy products, lack of protein
Solutions:
- Clarify with a sulfate shampoo occasionally
- Use lighter products
- Add protein treatments
- Avoid heavy butters and oils
- Try mousse instead of cream
Problem: Lack of Definition
Causes: Wrong technique, not enough product, no gel, hair too dry when styling
Solutions:
- Apply products to soaking wet hair
- Use a gel or mousse
- Try shingling or finger coiling
- Use more product
- Diffuse instead of air drying
Seasonal Curly Hair Care Adjustments
Summer Care
Humidity and sun can wreak havoc on curls.
Adjustments:
- Use anti-humectant products (avoid glycerin in high humidity)
- Wear protective styles or hats in the sun
- Rinse after swimming (chlorine and salt water are drying)
- Use lighter products to avoid heaviness
- Increase clarifying to remove buildup from sweat and products
Winter Care
Cold, dry air strips moisture from curls.
Adjustments:
- Increase deep conditioning frequency
- Use heavier creams and butters
- Seal with oils to lock in moisture
- Wear satin-lined hats to prevent friction
- Use a humidifier indoors
- Reduce washing frequency
Building Your Personalized Curly Hair Routine
Sample Routine for Type 3 Hair
Wash Day (2x weekly):
- Pre-poo with coconut oil (30 min)
- Co-wash or sulfate-free shampoo
- Deep condition with heat (20 min)
- Leave-in conditioner on soaking wet hair
- Curl cream
- Gel
- Plop for 20 minutes
- Diffuse or air dry
- Scrunch out the crunch
Refresh Days:
- Mist with water/leave-in mix
- Scrunch
- Apply tiny bit of cream to frizzy areas
- Air dry
Sample Routine for Type 4 Hair
Wash Day (1x weekly):
- Pre-poo with heavy oil
- Gentle shampoo focusing on scalp
- Deep condition with protein (alternate with moisture)
- Leave-in conditioner
- Curl butter or heavy cream
- Oils to seal
- Gel for hold
- Shingle or twist sections
- Air dry or diffuse
Maintenance:
- Refresh with water and cream every 2-3 days
- Re-twist or re-braid as needed
- Sleep in satin bonnet nightly
Conclusion: Embracing Your Natural Curls
Curly hair care is a journey, not a destination. What works for someone else might not work for you, and that's okay. The key is understanding your unique curl pattern, porosity, and needs, then experimenting with products and techniques until you find your perfect routine.
Be patient with yourself and your hair. It takes time to undo years of damage or learn what your curls need. Celebrate small victories—a good hair day, a new technique that works, a product you love.
Remember: your curls are beautiful exactly as they are. With the right care, knowledge, and products, you can have healthy, defined, gorgeous curls that make you feel confident and empowered. Welcome to the curly girl journey—your best hair days are ahead of you!
Start today: Pick one tip from this guide to implement this week. Whether it's switching to a sulfate-free shampoo, trying the LOC method, or investing in a satin pillowcase, every small step brings you closer to your curl goals.